Getting Started
This Documentation Sucks
cannoli_OS is in early preview. Expect the docs to get better as things progress and get finalized.
I'd rather just get feedback than commit to making good docs against a moving target.
Installing Cannoli
You can snag the latest early preview from the GitHub Releases.
First Launch
After installing you will have the Cannoli app.
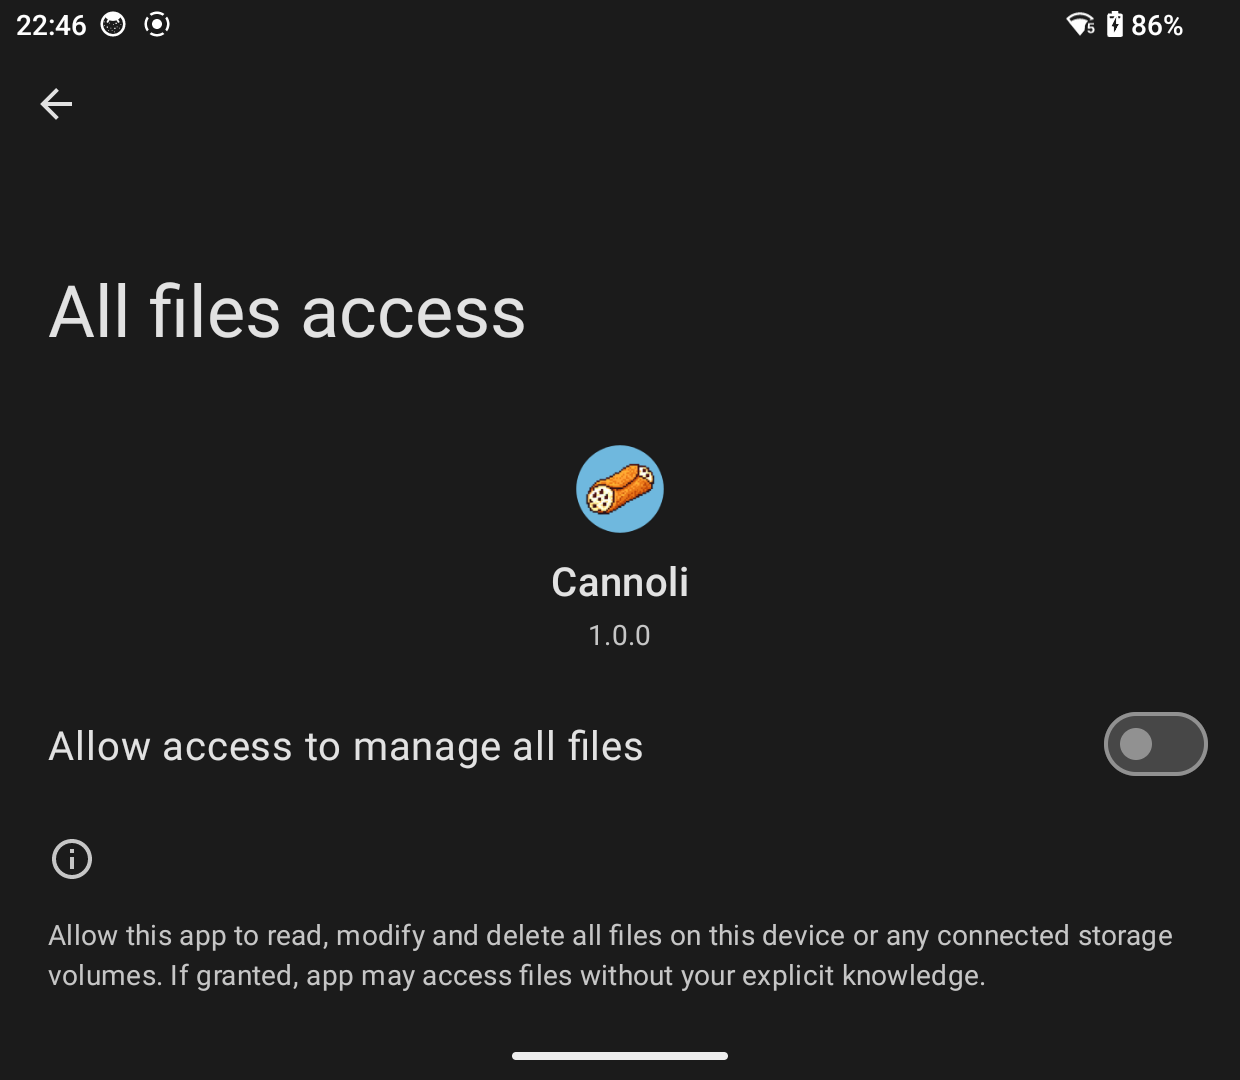
On your first run you will be prompted for permission to manage all files.
Turn that on and hit the back arrow.
Once enabled you will have the simplest setup question to answer.
Store the Cannoli folder on internal storage or the SD Card? Really that's it!
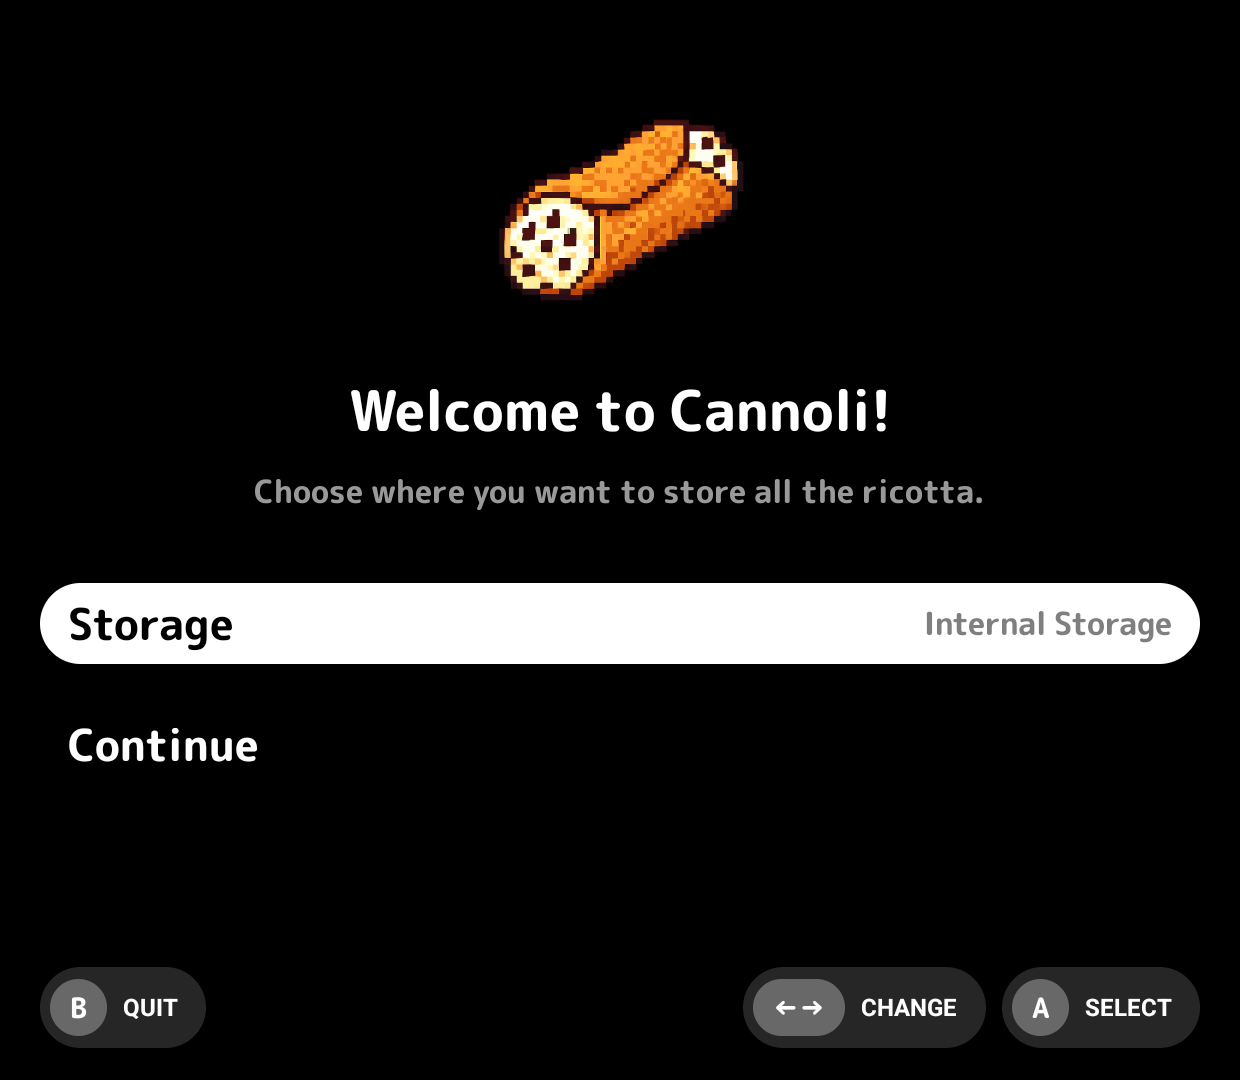
Make your choice and hit continue. You are off to the races!
Loading Content
You will then land on a pretty barren main menu.
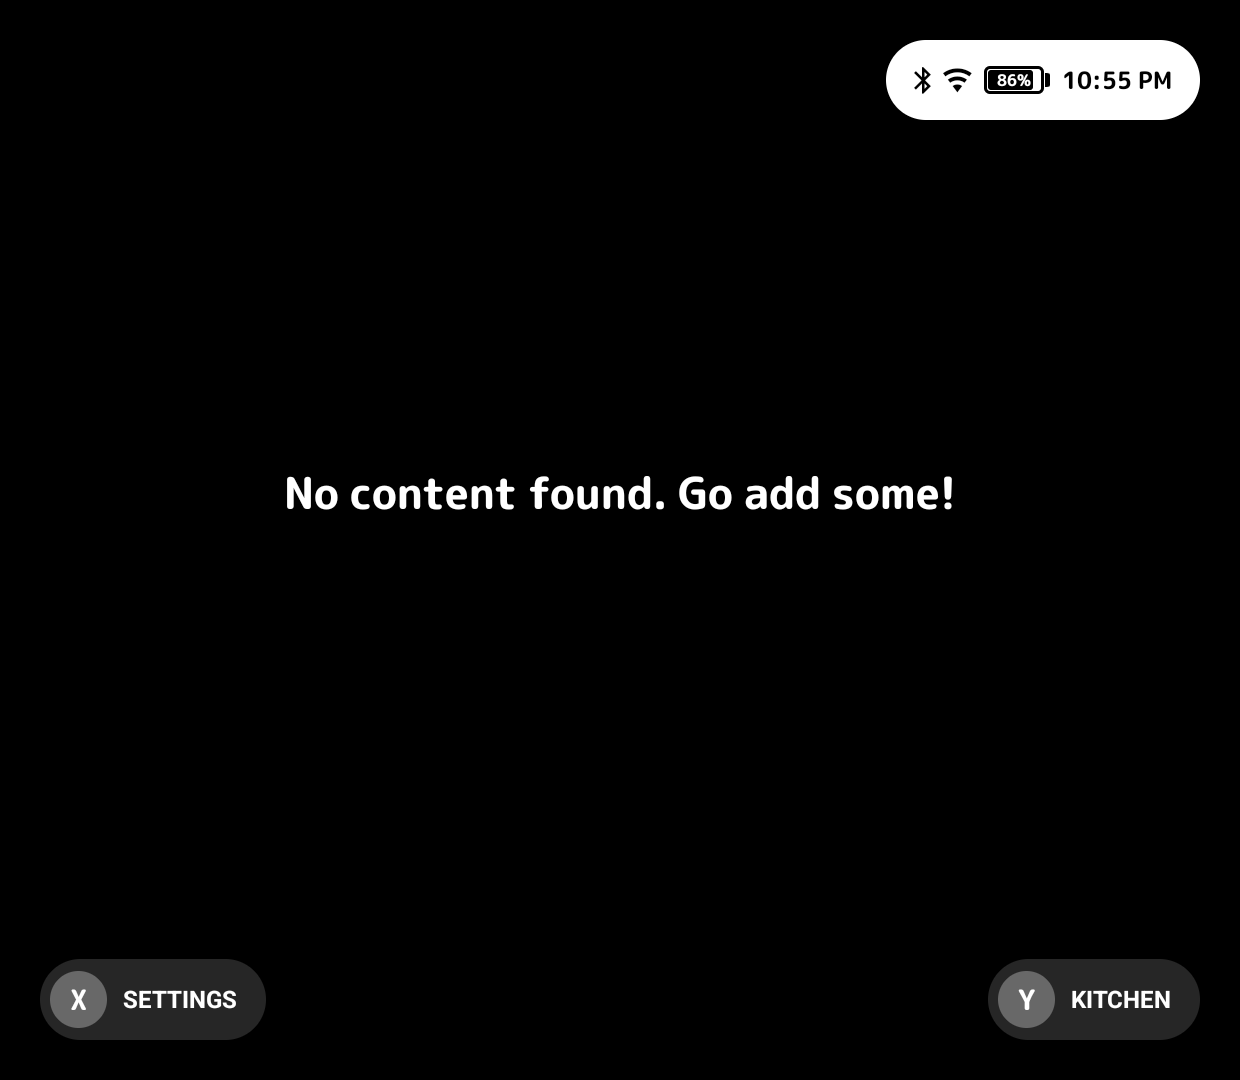
While you are free to add content however way you'd like, Cannoli ships with a built-in web client called Nonna's Kitchen. To access it you can press Y on the main menu.
Important
The kitchen Y shortcut only appears when the server is running.

Once the kitchen is open scan the QR code or enter the URL on screen.
You'll be prompted for the 6 character code.
From here you will see two buttons on the top, one for BIOS and one for Wallpapers.
If you have either of those click the button and upload 'em.
Underneath you will see a big list of platforms that Cannoli either supports internally through the built in core runner or by acting as a launcher to open RetroArch or a standalone emulator.
Click on one of them. You will have four options per platform.
- Upload ROM Files
- Upload Box Art
- Upload Save Files
- Upload Save States (soon)
Warning
Uploading save states isn't working quite right yet. I'll update this page when it is.