Getting Started
Important
Android Version Compatibility ≥ 9
Cannoli requires Android 9 (API 28) or newer.
Installing Cannoli
You can snag the latest APK from the GitHub Releases.
First Launch
After installing, you will have the Cannoli app.
On your first launch you will arrive at the setup screen.
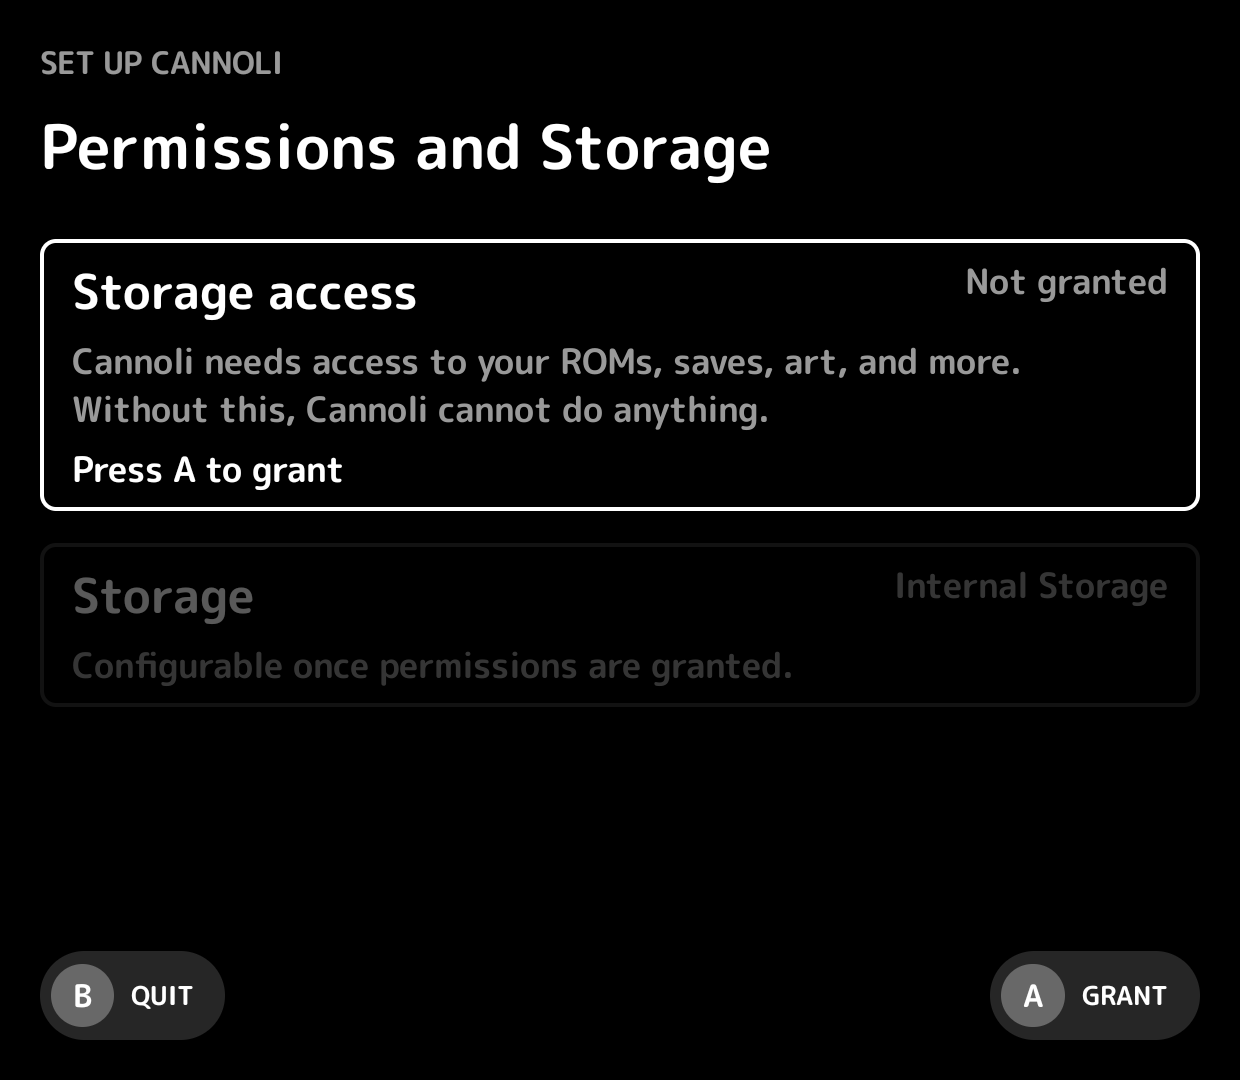
Here you will be prompted for permission to manage all files and to select where to place the Cannoli Root Folder.
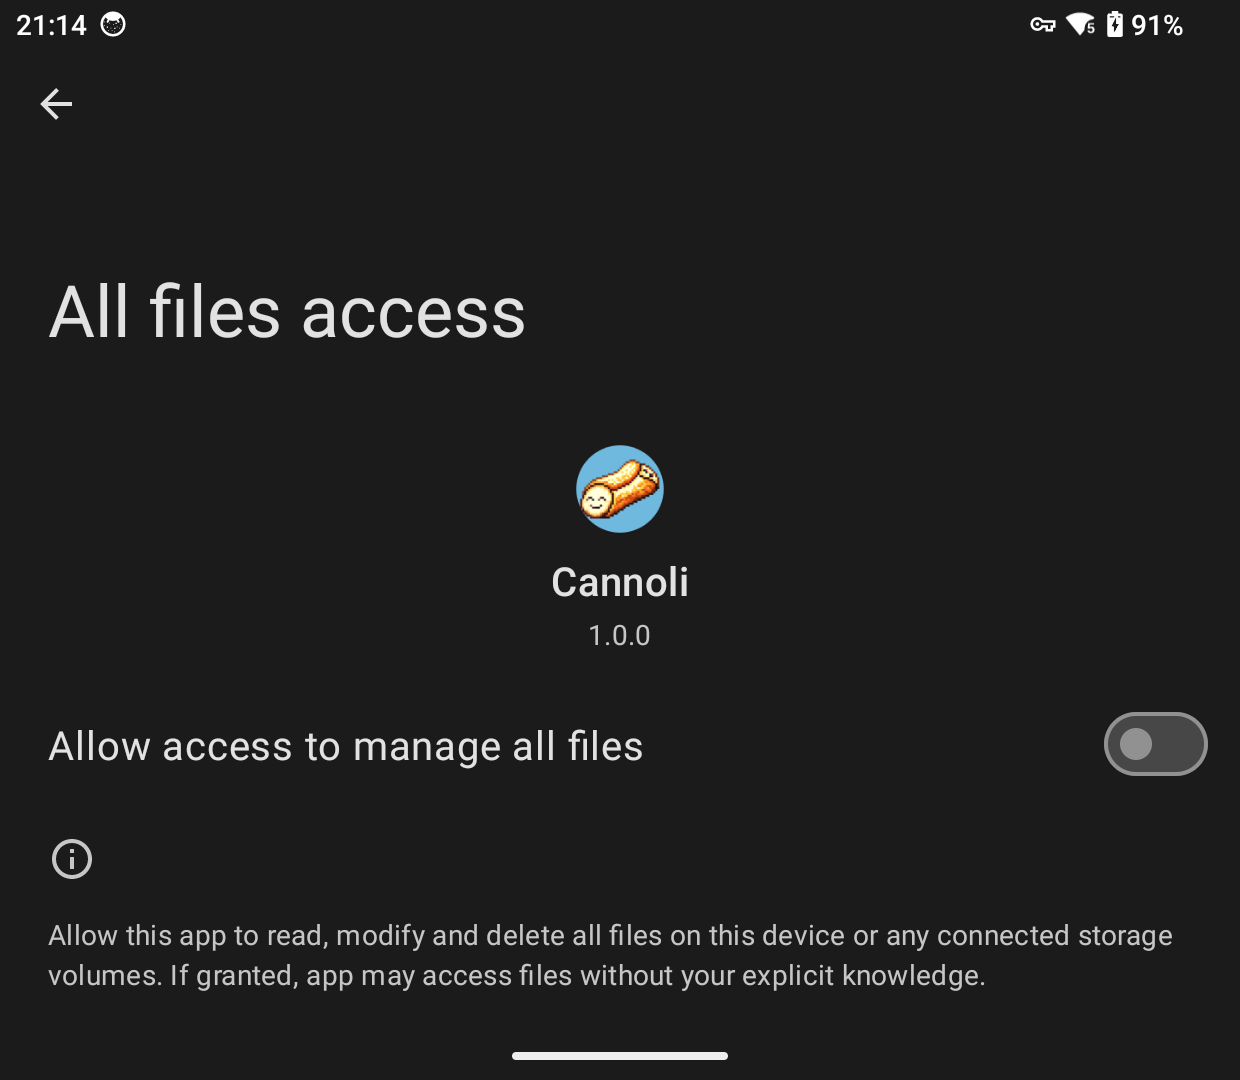
Cannoli needs this MANAGE_EXTERNAL_STORAGE access to read your ROMs and write saves, box art, guides, and the rest of the directory tree it manages on shared storage. Without it the launcher can't do anything.
Let's grant this permission first.
Once enabled you will have the simplest setup question to answer.
Do you want the Cannoli folder on internal storage, the SD Card (if present) or a custom location? Really that's it!
Make your choice and hit continue.
Cannoli will then do some light housekeeping to make sure everything is put into place.
Loading Content
You will then land on a pretty barren main menu.
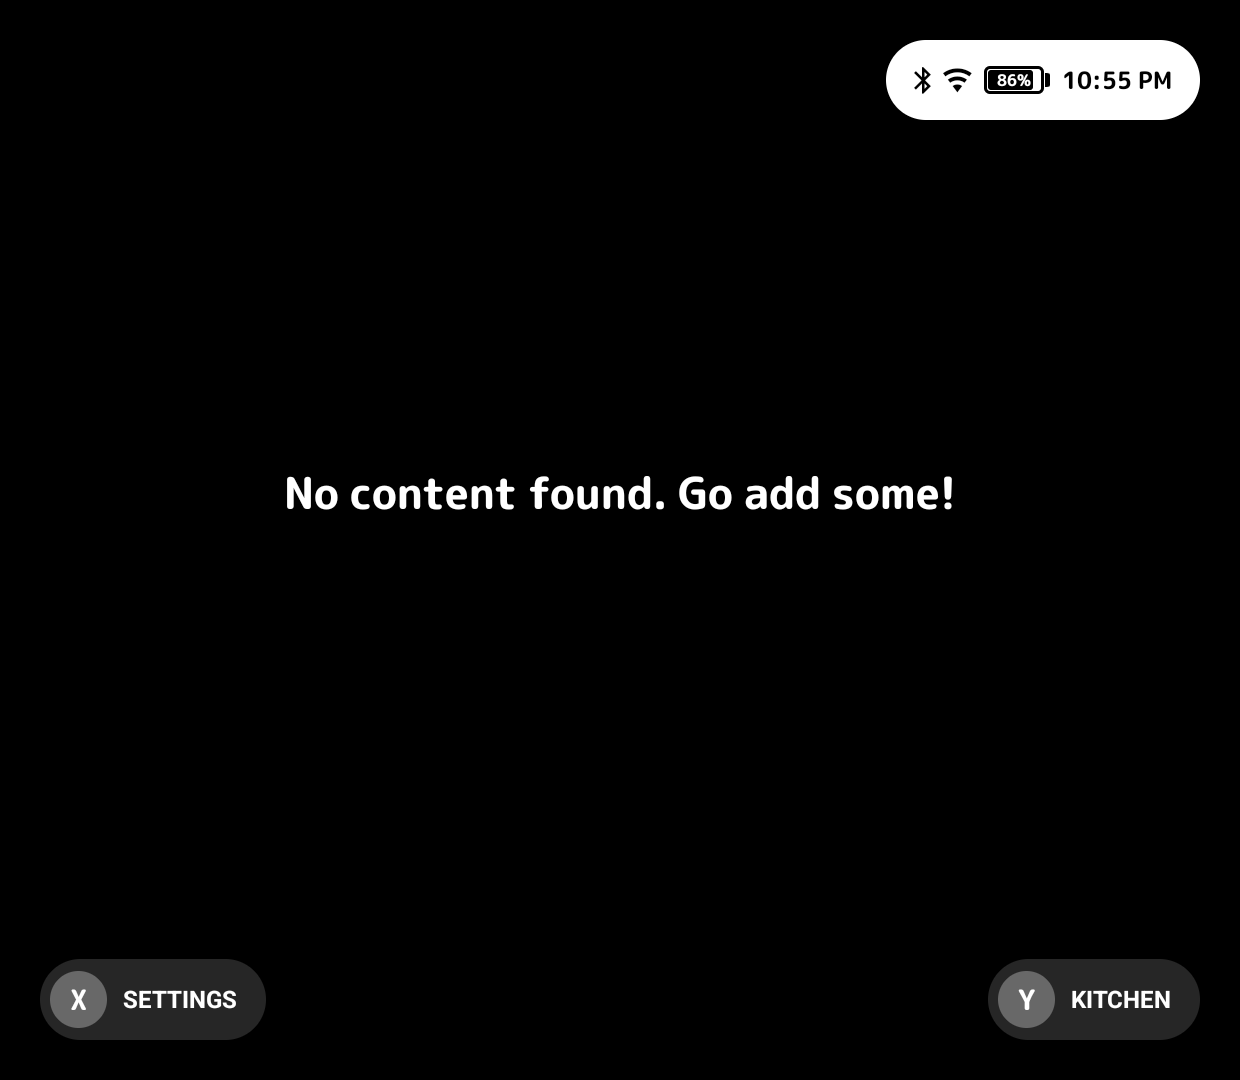
While you are free to add content however you'd like, the easiest way is with Nonna's Kitchen, a built-in web client for uploading ROMs, box art, saves, and more from any browser on your network.
If you prefer to manage files manually, see the Directory Structure page for where everything goes.
After you add ROMs, Cannoli scans them on the next launch (or when returning from Nonna's Kitchen).